How to get the new Windows Start menu now • The Register
Four years after the debut of Windows 11, Microsoft has finally fixed one of the biggest problems with its Start menu: The need to click the “All” button to view a complete list of all of your apps. A new Start menu, which gives you three different ways to view all installed programs without that extra click, is slowly rolling out to users.
The original Start presents a list of shortcuts to apps and files that Windows chooses for you, and places them in a Recommended section that appears below the list of pinned apps.
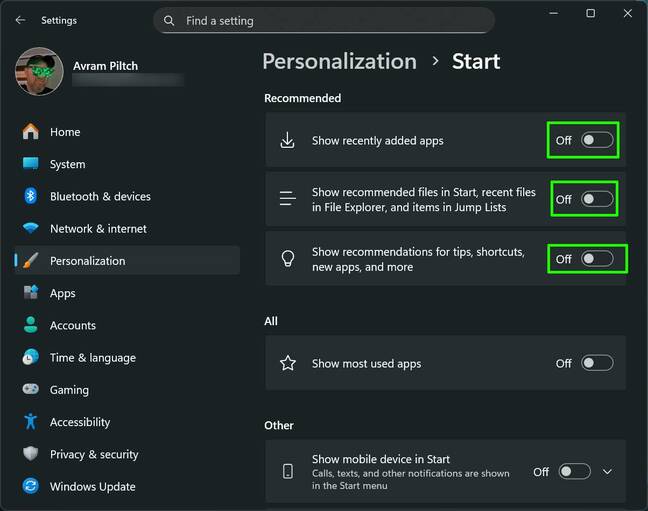
The new Start menu offers the ability to turn off the Recommended section.
To do so, right click anywhere in the menu, select Settings, find the Personalization options menu, then toggle off the options to Show recently added apps, Show recommended files, and Show recommendations for tips.
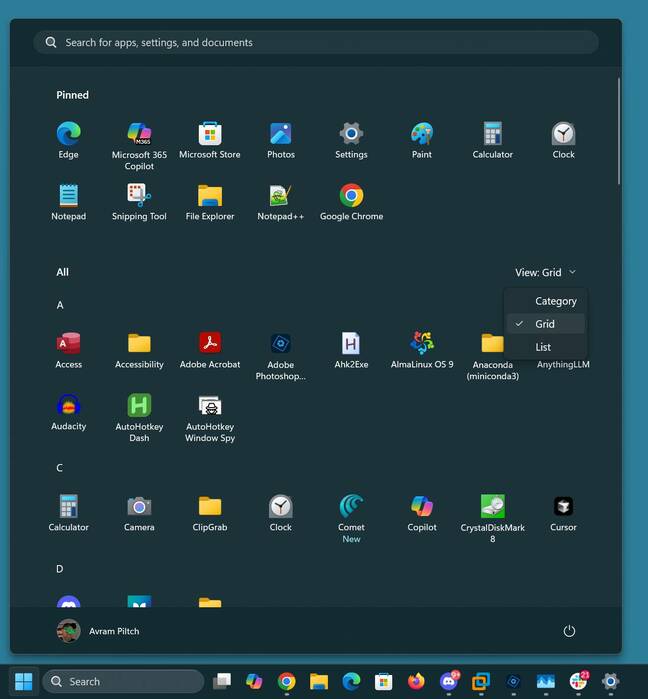
If you hide the Recommended section, which we advise, a list of shortcuts to all of your apps appears in the Start menu right below your pinned shortcuts. If you don’t hide Recommended, the list of all apps appears below it.
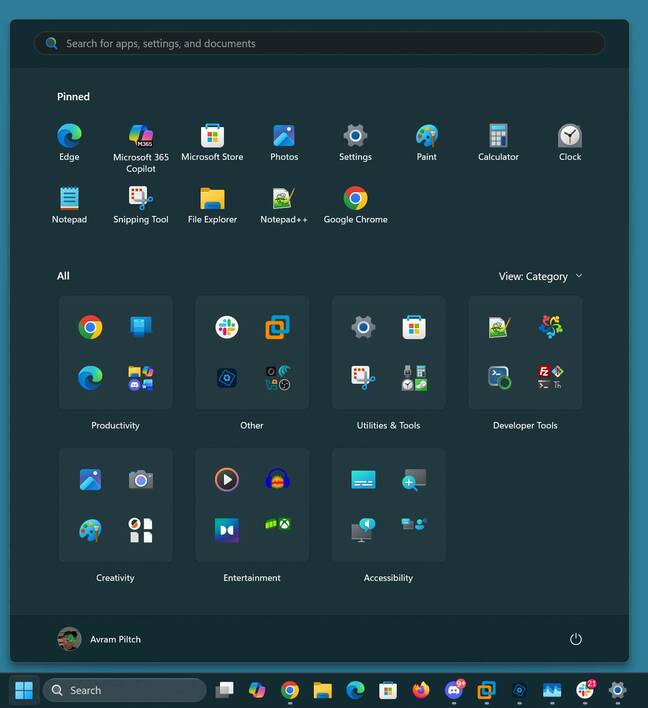
You can show the list of apps as a grid arranged alphabetically, as a list in alphabetical order, or grouped by category. The most information-dense and comprehensive option is the grid.
If you don’t change to the grid, the category view appears by default.
How to make the new Start menu appear
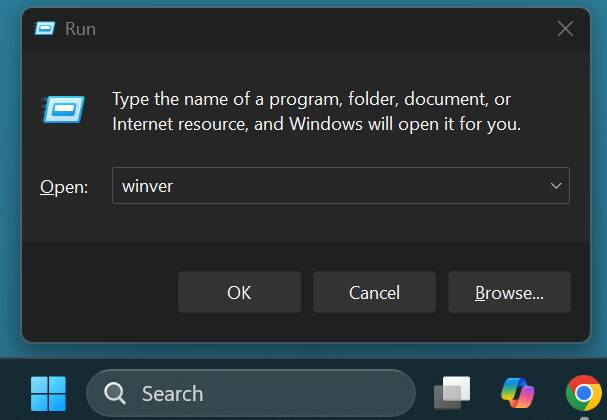
To get this new Start menu, you must be running build 26100.7019 or 26200.7019 or newer versions of Windows 11. Make sure you have all the latest updates installed by going to Settings->Windows Update and clicking the Check for updates button. You can check your Windows build number by hitting Windows+R to open the run prompt and running winver.
If you have the right build number, it’s possible that the new Start menu will appear on its own. But, if not, you can use the ViveTool, a utility that enables hidden Windows features, to turn it on.
First, download the ViveTool and unzip it to C:\vive. Then open a command prompt as an administrator and change into that directory.
cd c:\vive
Finally, issue the following command:
vivetool /enable /id:57048231,47205210,56328729,48433719
After a restart, the new Start menu should appear as soon as you click on the Start button. ®
First Appeared on
Source link


